

Creating Virtual Environment in Python

R
I am Developer, Artist and trying my luck on blogging as well. Well I am Ambitious, Passionate towards Learning, The Night Owl, And I Like challenges...
Search for a command to run...
I am Developer, Artist and trying my luck on blogging as well. Well I am Ambitious, Passionate towards Learning, The Night Owl, And I Like challenges...
No comments yet. Be the first to comment.
In this series you will get the fundamentals of python programming, and it will help you write a clean and effective scripts in future.
Goals the basic knowledge you'll need to write effective Python scripts. We'll start with an introduction to the basic syntax of the Python language. I'll explain how types and values are related to objects in Python. how to use Python's control s...
Post #2 in the Complete Prompt Engineering Series Welcome back! In What is Prompt Engineering? A Complete Introduction, you learned what prompt engineering is and why it matters. Now we're going deeper: understanding the engine under the hood. You do...

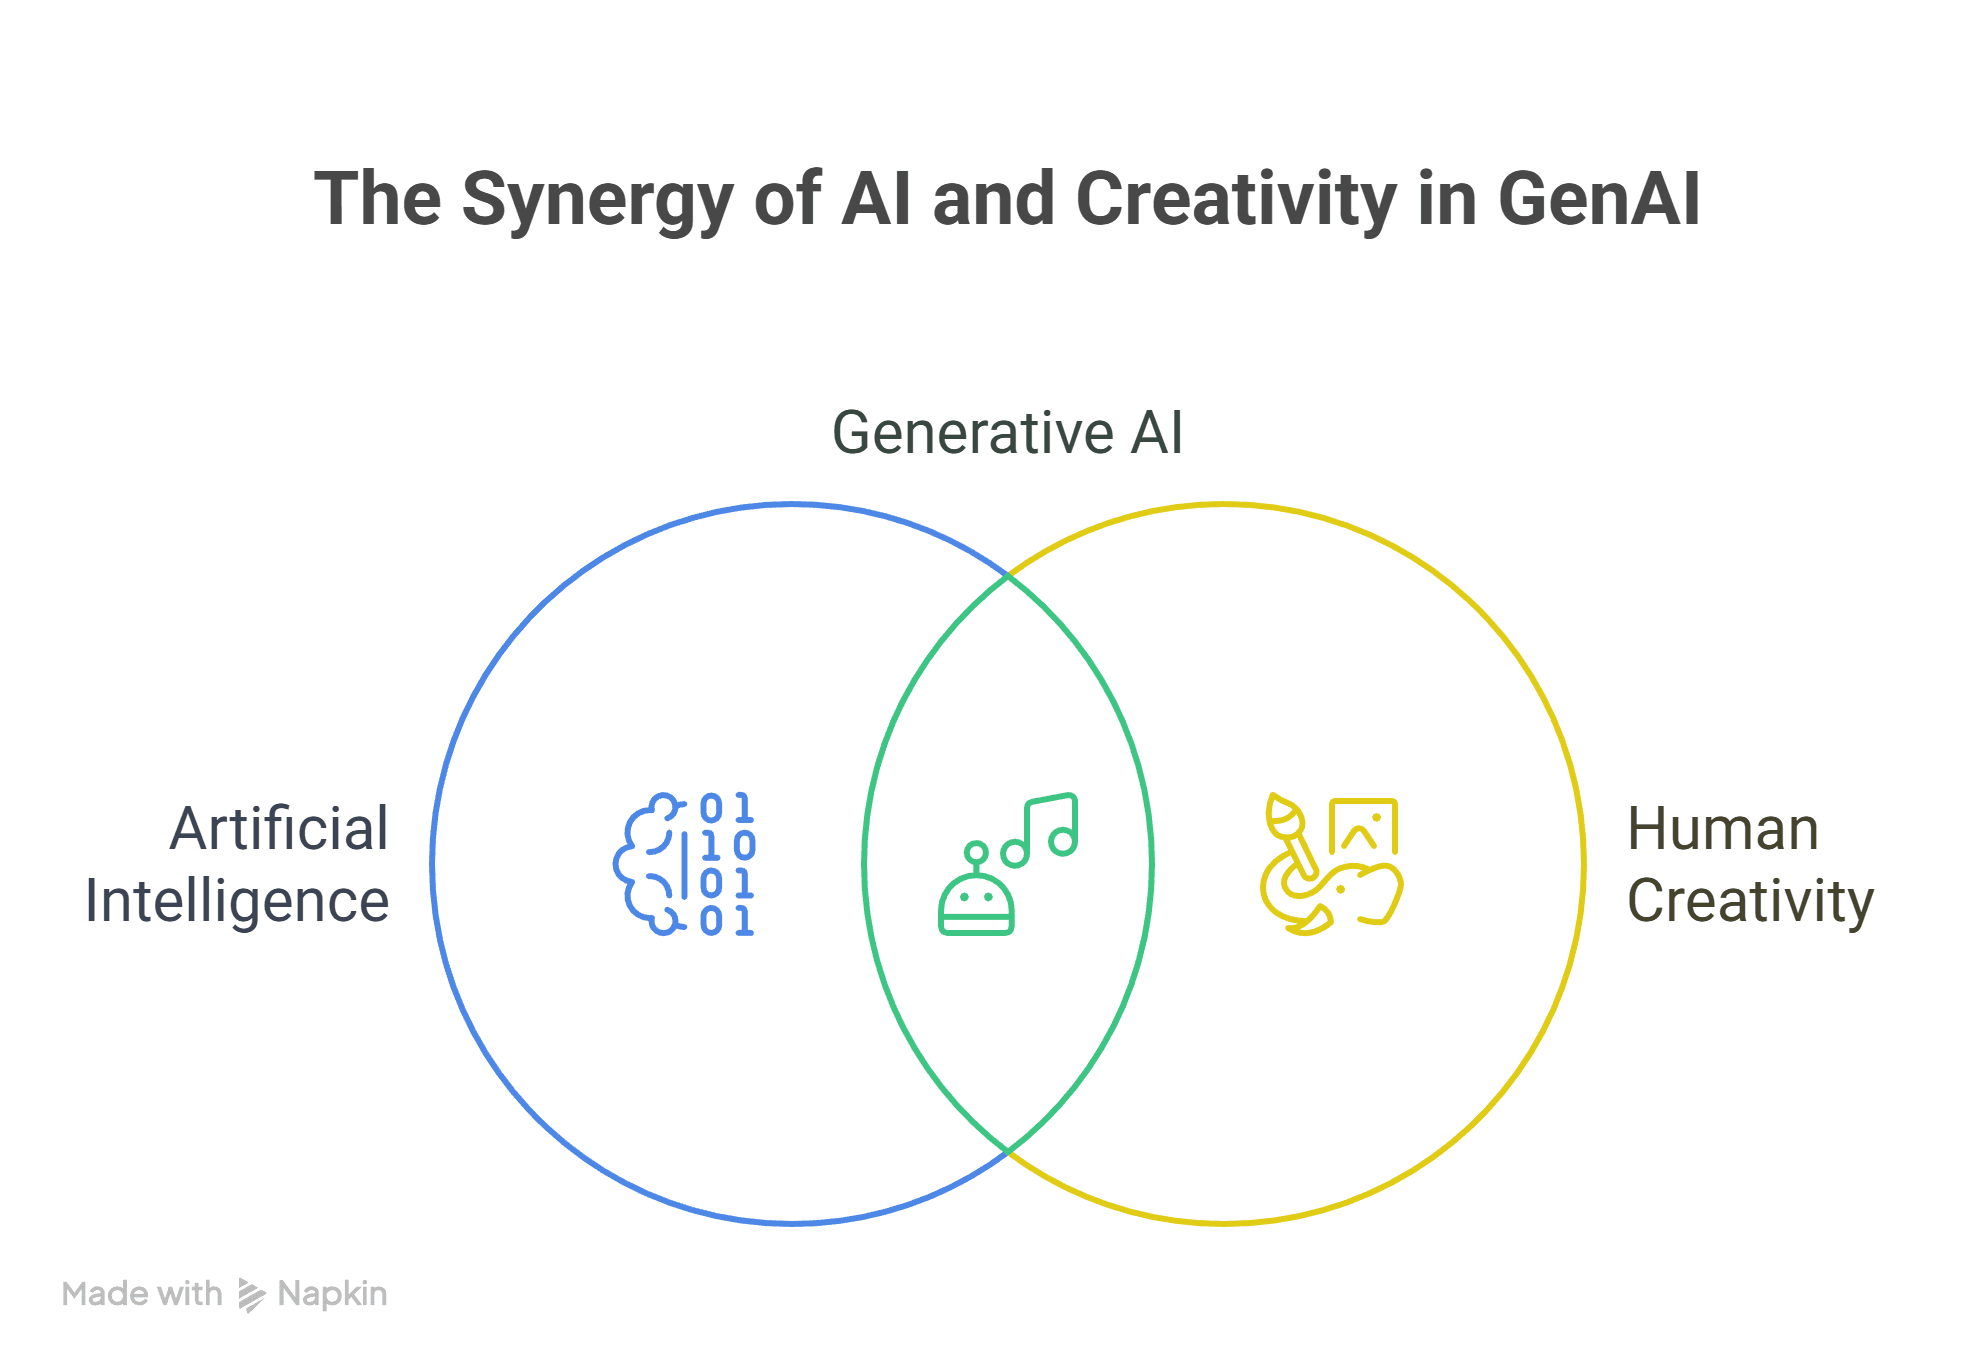
Welcome to the future of human-AI collaboration. If you're reading this in 2024-2025, you're witnessing a fundamental shift in how humans interact with machines—and prompt engineering is your passport to this new world. The Definition: What Exactly I...
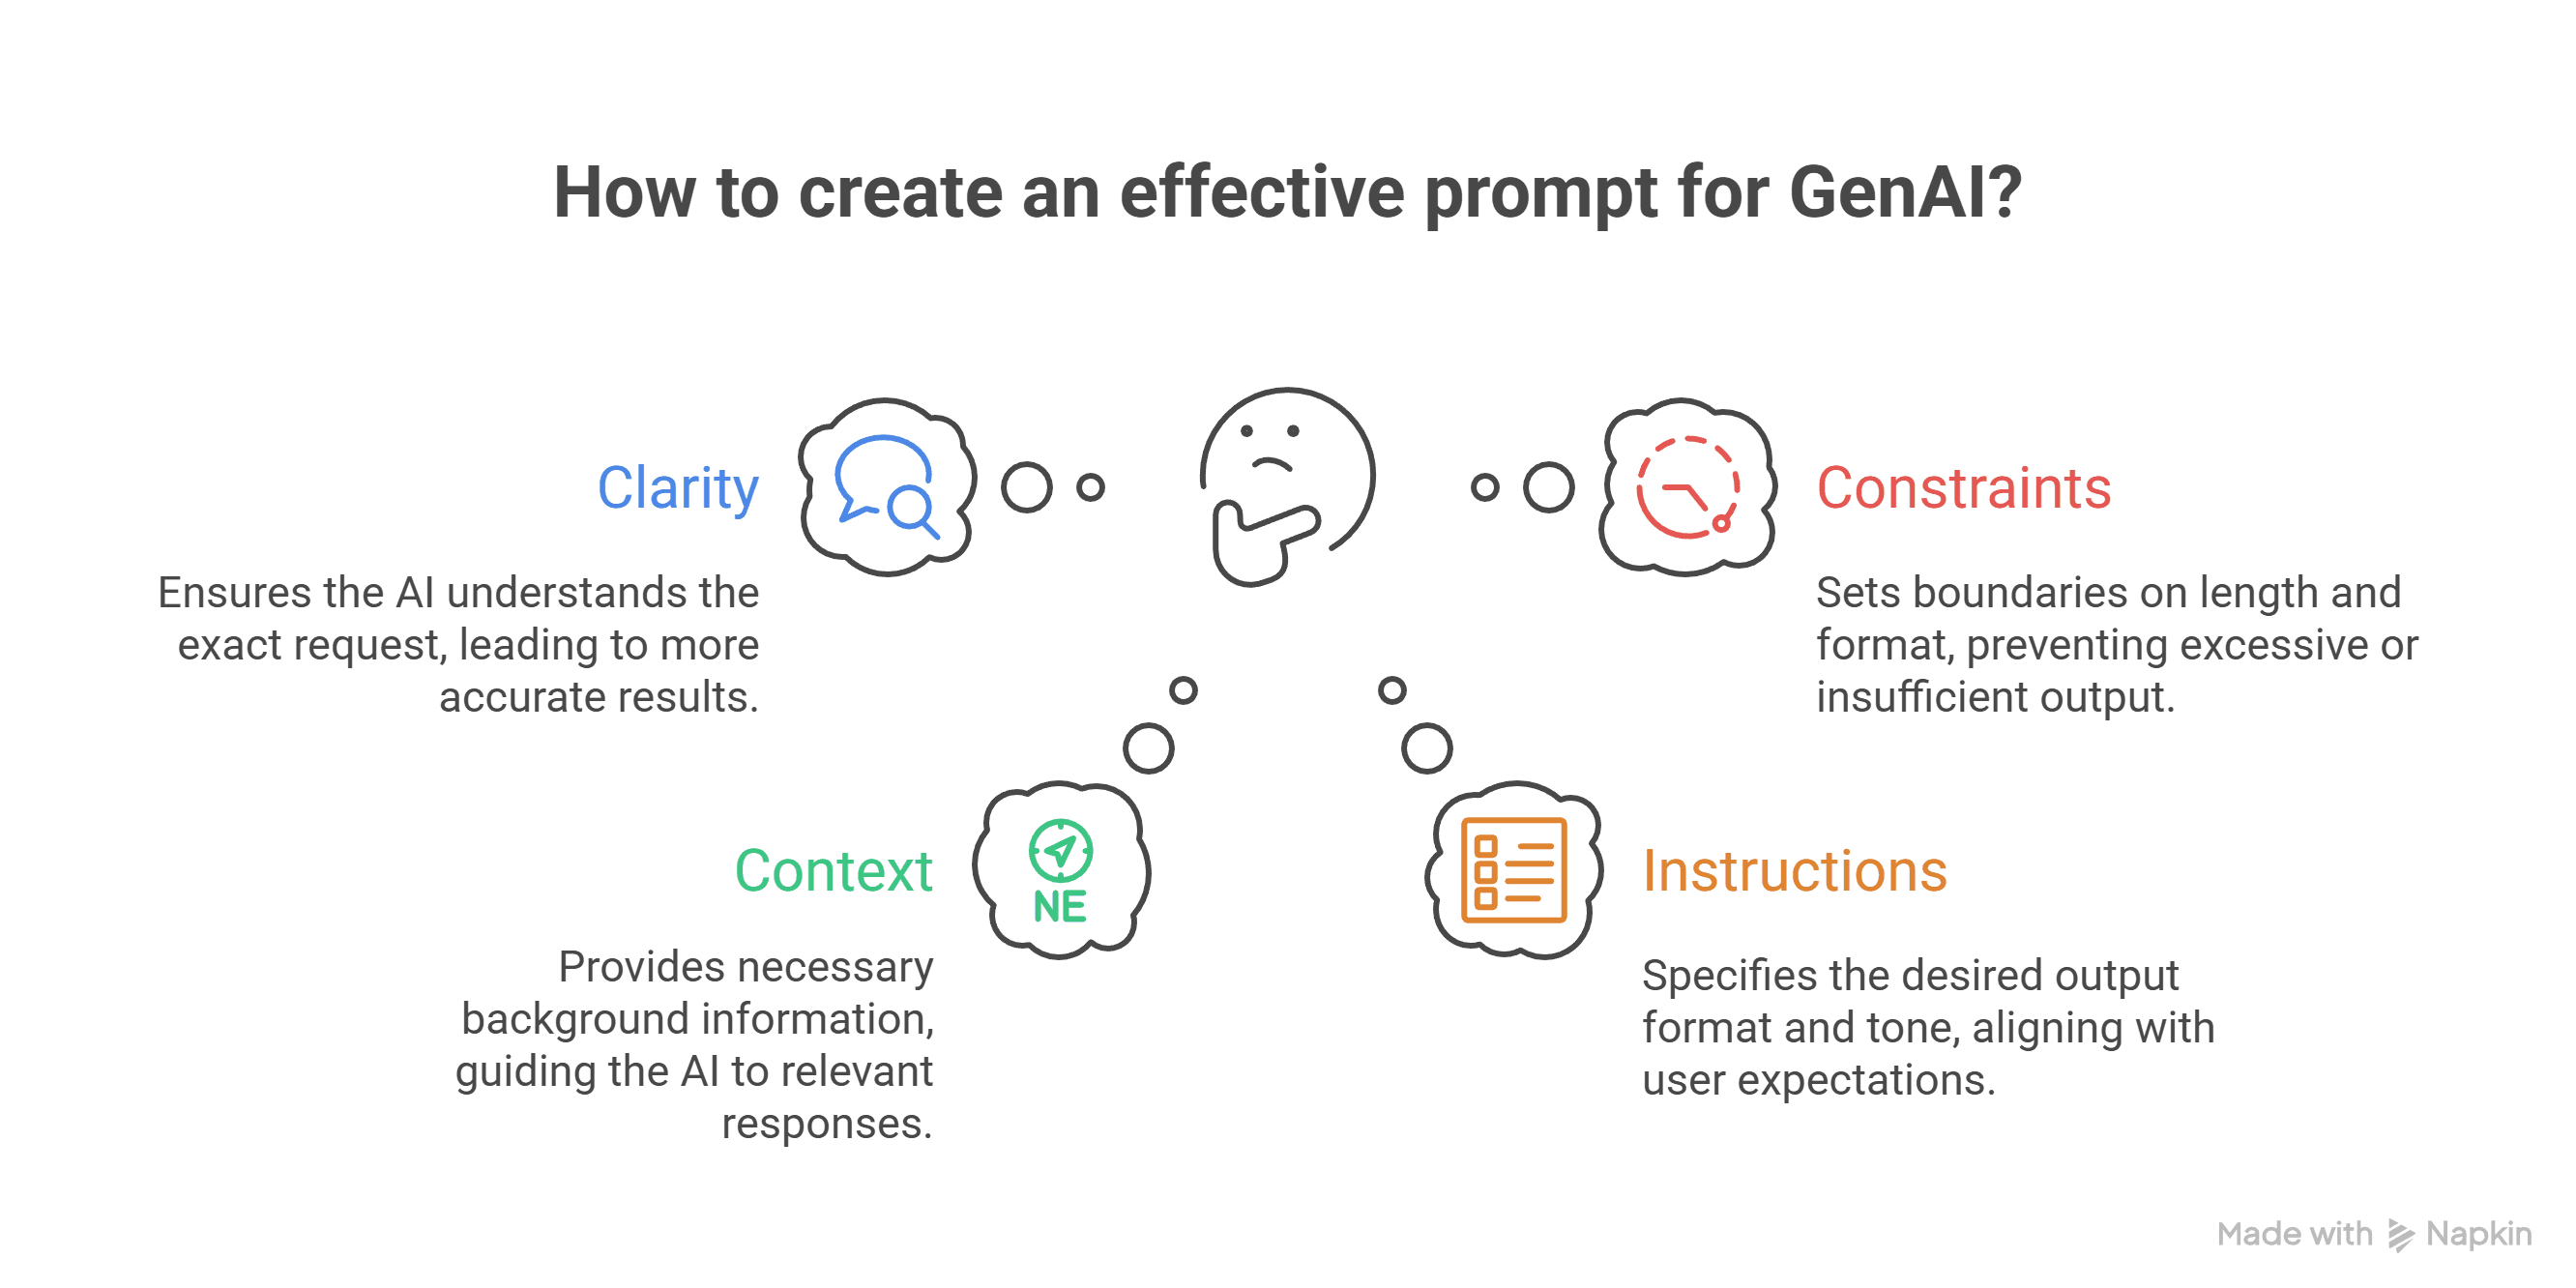
In this post, we’ll walk through the anatomy of a great prompt, illustrate every step with vivid examples, and even peek under the hood to see what happens technically when you hit “send.” By the end, you’ll be able to craft prompts that unlock the f...
What is GenAI and Why Does Prompting Matter? If you’ve ever wondered how people interact with AI tools, or why some folks seem to get exactly what they want from tools like ChatGPT while others receive confusing or generic responses, this article is ...
Let’s be honest—being a developer isn’t just about writing code. It’s about solving problems, dealing with burnout, handling meetings, chasing deadlines, and finding time to learn, debug, and ship. But in the middle of this chaos, one simple habit ca...
The Python installers for Windows include pip. You should be able to access pip using:
py -m pip --version
pip 9.0.1 from c:\python36\lib\site-packages (Python 3.6.1)
You can make sure that pip is up-to-date by running:
py -m pip install --upgrade pip
Debian and most other distributions include a python-pip package , if you want to use the Linux distribution-provided versions of pip see Installing pip/setuptools/wheel with Linux Package Managers .
You can also install pip yourself to ensure you have the latest version. It’s recommended to use the system pip to bootstrap a user installation of pip:
python3 -m pip install --user --upgrade pip
Afterwards, you should have the newest pip installed in your user site:
python3 -m pip --version
pip 9.0.1 from $HOME/.local/lib/python3.6/site-packages (python 3.6)
Note If you are using Python 3.3 or newer, the venv module is the preferred way to create and manage virtual environments. venv is included in the Python standard library and requires no additional installation. If you are using venv, you may skip this section.
virtualenv is used to manage Python packages for different projects. Using virtualenv allows you to avoid installing Python packages globally which could break system tools or other projects. You can install virtualenv using pip.
On macOS and Linux:
python3 -m pip install --user virtualenv
On Windows:
py -m pip install --user virtualenv
venv (for Python 3) and virtualenv (for Python 2) allow you to manage separate package installations for different projects. They essentially allow you to create a “virtual” isolated Python installation and install packages into that virtual installation. When you switch projects, you can simply create a new virtual environment and not have to worry about breaking the packages installed in the other environments. It is always recommended to use a virtual environment while developing Python applications.
To create a virtual environment, go to your project’s directory and run venv. If you are using Python 2, replace venv with virtualenv in the below commands.
On macOS and Linux:
python3 -m venv env
On Windows:
py -m venv env
The second argument is the location to create the virtual environment. Generally, you can just create this in your project and call it env.
venv will create a virtual Python installation in the env folder.
Note You should exclude your virtual environment directory from your version control system using .gitignore or similar.
Before you can start installing or using packages in your virtual environment you’ll need to activate it. Activating a virtual environment will put the virtual environment-specific python and pip executables into your shell’s PATH.
On macOS and Linux:
source env/bin/activate
On Windows:
.\env\Scripts\activate
You can confirm you’re in the virtual environment by checking the location of your Python interpreter, it should point to the env directory.
On macOS and Linux:
which python
.../env/bin/python
On Windows:
where python
.../env/bin/python.exe
As long as your virtual environment is activated pip will install packages into that specific environment and you’ll be able to import and use packages in your Python application.
If you want to switch projects or otherwise leave your virtual environment, simply run:
deactivate
If you want to re-enter the virtual environment just follow the same instructions above about activating a virtual environment. There’s no need to re-create the virtual environment.